Using Podman pods Instead of docker-compose
 Photo by frank mckenna on Unsplash
Nowadays, it is common for developers to provide their (web) application in container for ease of setup. These applications usually consists of multiple inter-connecting parts. For example, the main application interacting with a database to store, read and write data.
To make the experience of setting up databases, developers also provide ways to bring them up automatically. One of the most used and well-known ways of doing this is to provide a Docker compose configuration for the application and its required services.
What is Docker Compose?
Compose is a tool for defining and running multi-container Docker applications. With Compose, you use a YAML file to configure your application’s services. Then, with a single command, you create and start all the services from your configuration.1
How does a Docker Compose configuration look like?
version: "3.9"  # optional since v1.27.0
services:
  web:
    build: .
    ports:
      - "8000:5000"
    volumes:
      - .:/code
      - logvolume01:/var/log
    depends_on:
      - redis
  redis:
    image: redis
volumes:
  logvolume01: {}
While in the same directory as this configuration file (named: docker-compose.yaml), you can bring up these applications by executing:
$ docker-compose up -d
When podman came out, there was a tool created later on called podman-compose to help ease transition from docker & docker-compose.
What is Podman?
Podman is a daemonless, open source, Linux native tool designed to make it easy to find, run, build, share and deploy applications using Open Containers Initiative (OCI) Containers and Container Images. Podman provides a command line interface (CLI) familiar to anyone who has used the Docker Container Engine. Most users can simply alias Docker to Podman (alias docker=podman) without any problems.2
As mentioned above, podman was easily usable for people already familiar with docker without having to re-learn all the command arguments.
I have used podman-compose before, however, while looking at an application recently, I wanted to learn to use the more native solution with podman. Thus, learning about how I could make use of podman pod.
What is a Pod?
A Pod (as in a pod of whales or pea pod) is a group of one or more containers, with shared storage and network resources, and a specification for how to run the containers. A Pod’s contents are always co-located and co-scheduled, and run in a shared context. A Pod models an application-specific “logical host”: it contains one or more application containers which are relatively tightly coupled. In non-cloud contexts, applications executed on the same physical or virtual machine are analogous to cloud applications executed on the same logical host.
A Pod is similar to a set of containers with shared namespaces and shared filesystem volumes.3
Looking again at the example Compose configuration, you will notice that the port from the container 5000 is forwarded to the host’s port, i.e., 8000, meaning ports in Docker are mapped from containers. This is also true for normal containers in Podman as well. However, things work differently in a pod, as stated above about a Pod.
Therefore, for a pod the port is mapped from it, rather than from a container directly. Thus, when you create a pod you also declare the port(s) you want to map to your host.
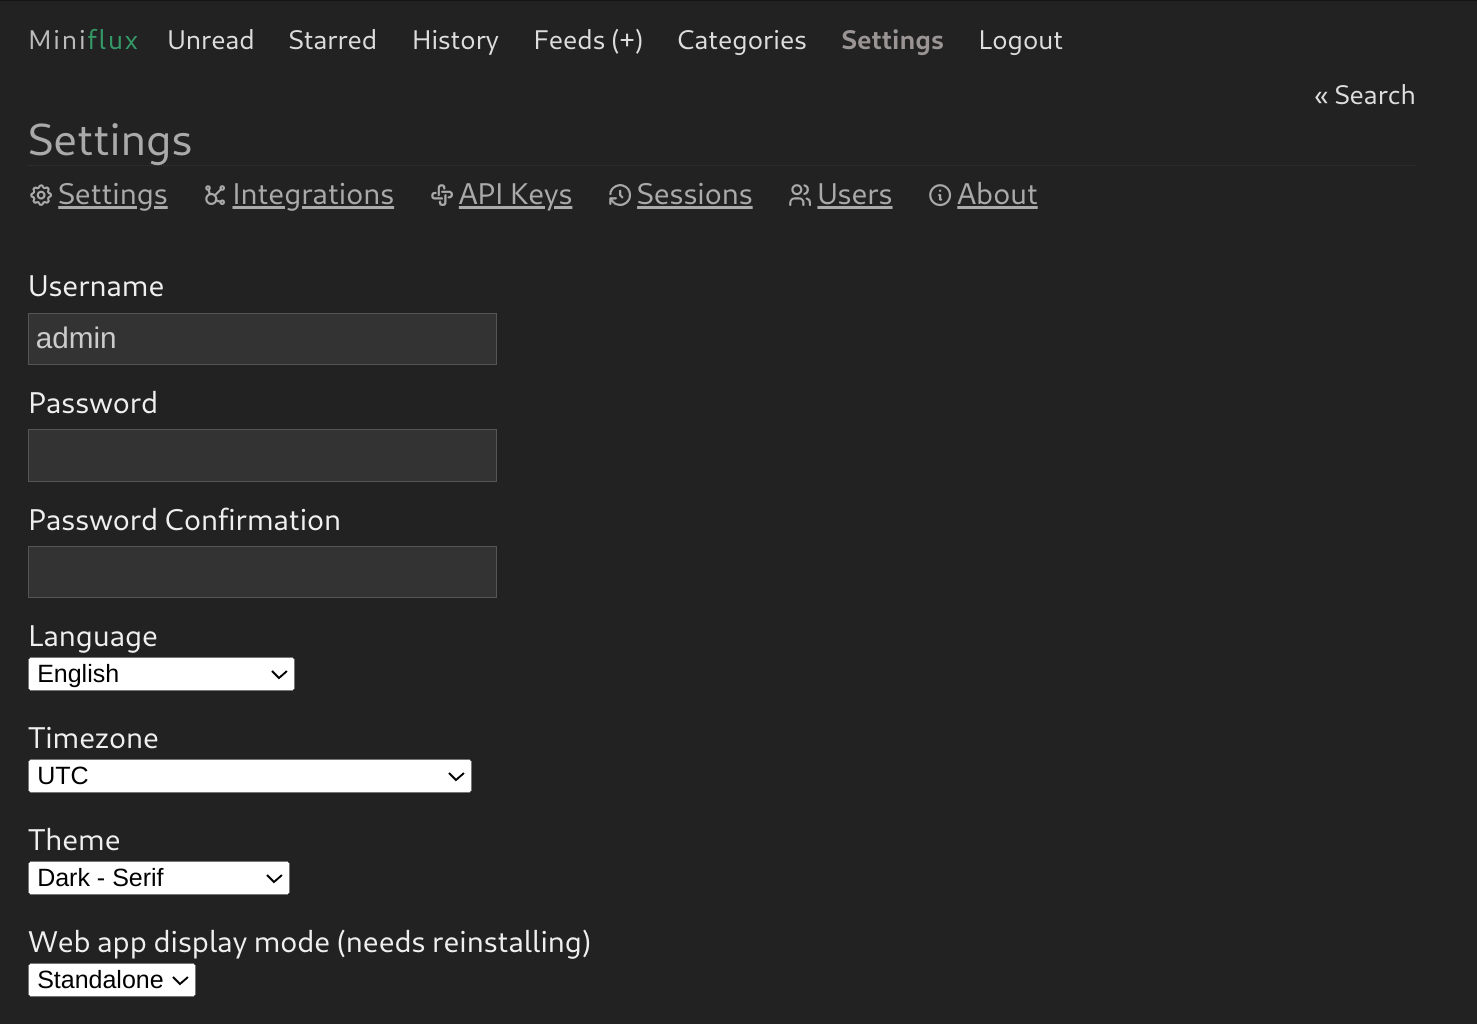
To understand this better, let’s look at the application I used: miniflux - a minimalist and opinionated feed reader, to convert their provided docker installation method in docker-compose to using Podman pods.
The Docker compose configuration for miniflux could look like below:
version: '3.4'
services:
  miniflux:
    image: miniflux/miniflux:latest
    ports:
      - "80:8080"
    depends_on:
      - db
    environment:
      - DATABASE_URL=postgres://miniflux:secret@db/miniflux?sslmode=disable
      - RUN_MIGRATIONS=1
      - CREATE_ADMIN=1
      - ADMIN_USERNAME=admin
      - ADMIN_PASSWORD=test123
    healthcheck:
      test: ["CMD", "/usr/bin/miniflux", "-healthcheck", "auto"]
  db:
    image: postgres:latest
    environment:
      - POSTGRES_USER=miniflux
      - POSTGRES_PASSWORD=secret
    volumes:
      - miniflux-db:/var/lib/postgresql/data
    healthcheck:
      test: ["CMD", "pg_isready", "-U", "miniflux"]
      interval: 10s
      start_period: 30s
volumes:
  miniflux-db:
Breaking it down, you will notice that there are 2 containers:
- the application:
miniflux/miniflux - the postgres database:
postgres
This means we will have to pull the 2 images to our local registry:
$ podman pull ghcr.io/miniflux/miniflux:latest

$ podman pull docker.io/library/postgres:latest
The only port mapped is 8080 from the miniflux container to port 80 on the host. Therefore, creating a pod would be:
$ podman pod create --name minifluxapp -p 80:8080
You will also notice that the postgres container uses a named volume, we will replicate that in podman by:
$ podman volume create miniflux-db
Since the miniflux container depends on db, we will first create the db container inside the pod as follows:
$ podman run --name=db -d --restart always --pod=minifluxapp \
--volume=miniflux-db:/var/lib/postgresql/data \
-e POSTGRES_USER=<miniflux-db-admin> \
-e POSTGRES_PASSWORD=<miniflux-db-password> \
--health-start-period=30s \
--health-interval=10s \
--health-cmd="CMD-SHELL pg_isready -U miniflux" docker.io/library/postgres:latest
Now, the miniflux container itself:
$ podman run --name=miniflux -d --restart=always --pod=minifluxapp \
-e DATABASE_URL=postgres://<db-user>:<db-pass>@localhost/miniflux?sslmode=disable \
-e RUN_MIGRATIONS=1 \
-e CREATE_ADMIN=1 \
-e ADMIN_USERNAME=<admin-user> \
-e ADMIN_PASSWORD=<admin-pass> \
--health-cmd="CMD-SHELL /usr/bin/miniflux -healthcheck auto" ghcr.io/miniflux/miniflux:latest
If all goes well, your containers should come up inside the pod, and the application is accessible via: http://127.0.0.1 or http://localhost.

From here, you could either generate a kubernetes pod definition4 to make it more reusable or systemd unit5 files to go together with your system administration.
pod definition
$ podman generate kube minifluxapp >> minifluxapp.yaml
systemd units
$ podman generate systemd \
--container-prefix minifluxapp \
--pod-prefix minifluxpod \
--name minifluxapp